
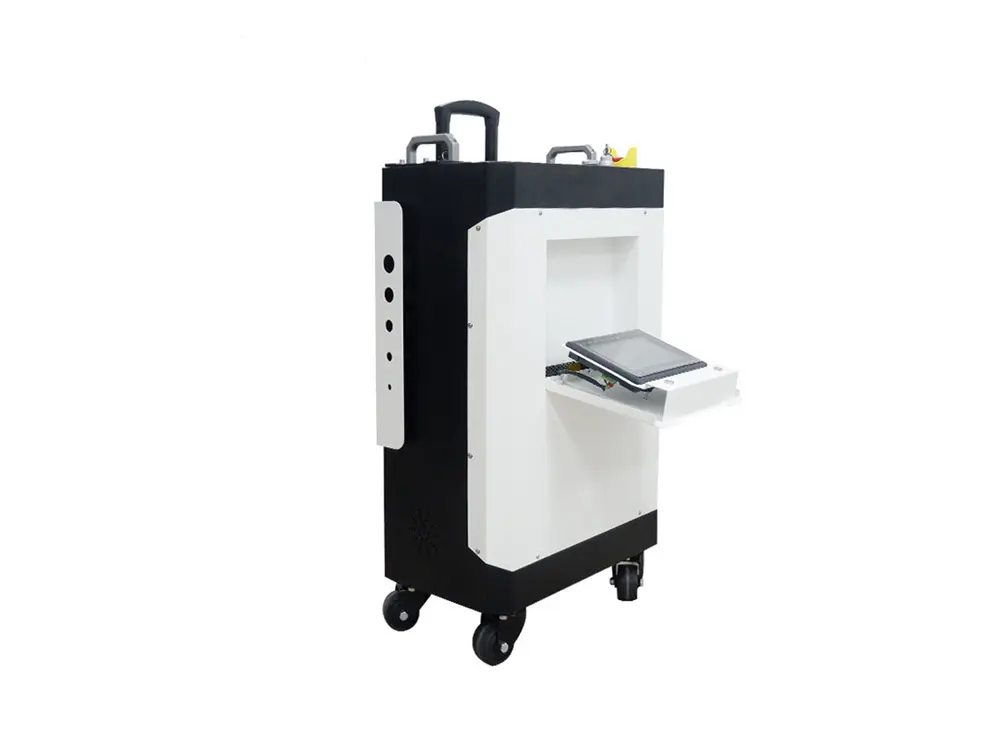
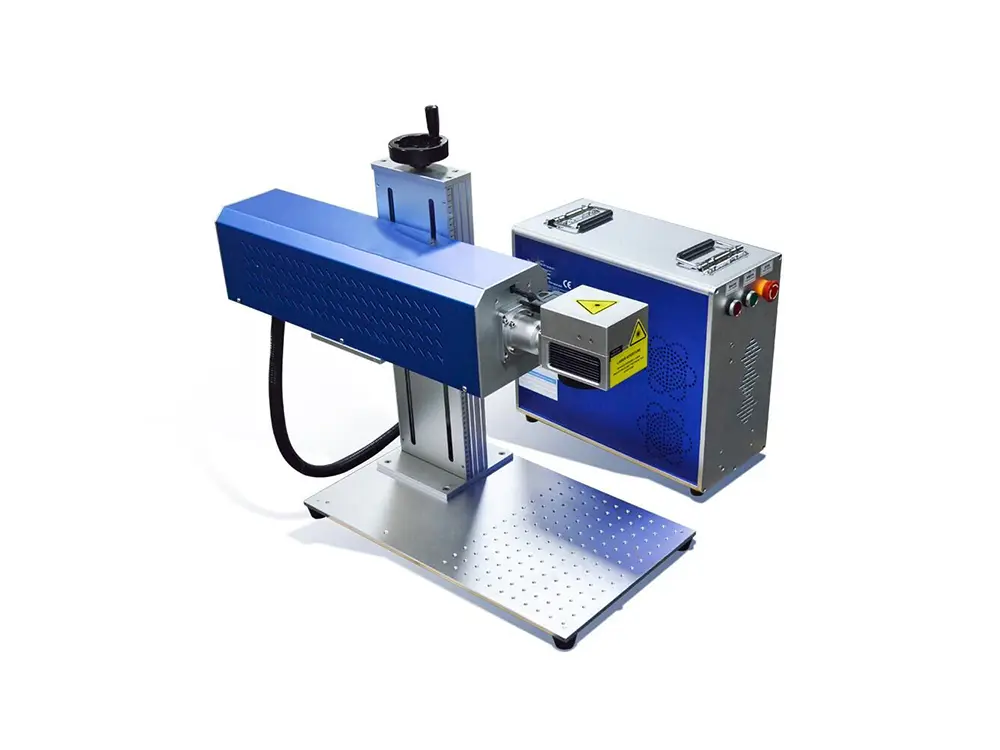











Laser welding problems such as porosity, excessive spatter, burn-through, and incomplete fusion can affect weld quality and increase production costs. These defects may result from improper parameter settings, poor joint preparation, inadequate shielding gas, or inconsistent operation.
Identifying the cause is essential before adjusting the machine. A systematic troubleshooting process helps operators correct defects, reduce rework, and achieve more consistent welds.
Before changing machine settings, inspect the workpiece, joint fit-up, shielding gas, and equipment condition. Change one parameter at a time and record the results. This approach makes it easier to identify the cause of a defect and repeat a successful welding process. This guide covers six common welding defects, practical troubleshooting steps, and preventive maintenance measures to help manufacturers improve weld consistency and reduce downtime.
Common Laser Welding Problems and Their Solutions
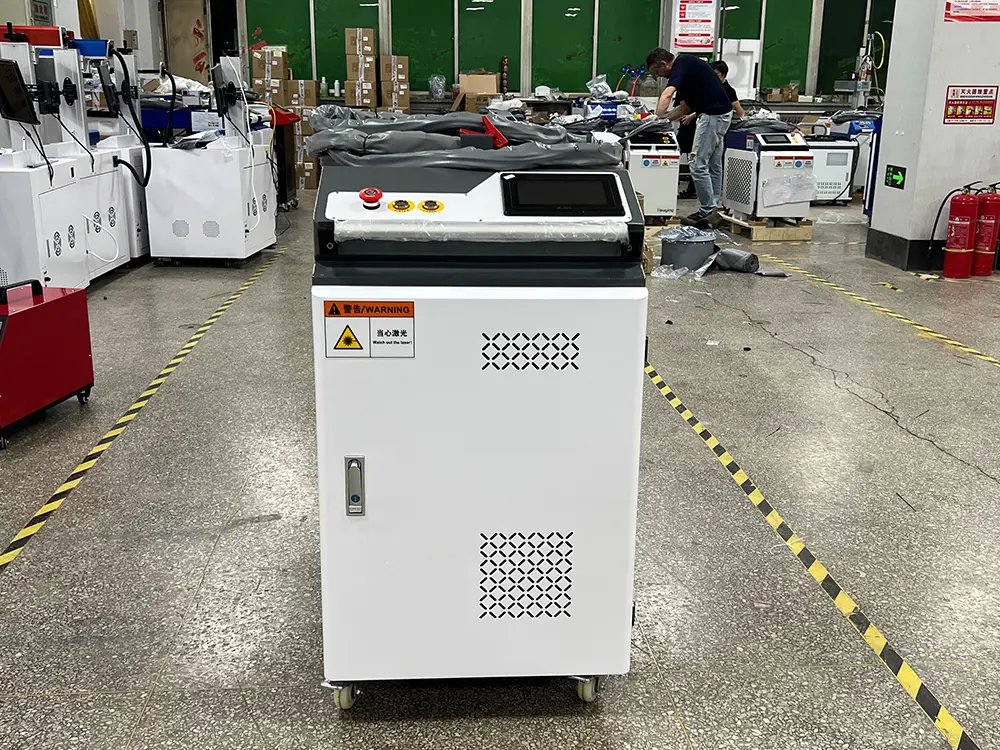
1. Porosity in Laser Welds
Porosity appears as small holes or cavities in the weld. These defects form when gas becomes trapped in the molten metal as it solidifies. Surface contamination, moisture, unstable shielding gas, and unsuitable welding parameters can all contribute.
To investigate laser welding porosity, start by cleaning the joint. Remove oil, grease, rust, paint, and other residues using a method suitable for the material. Make sure the workpiece is dry before welding. Check the shielding gas supply, hose connections, nozzle condition, and gas flow. Excessive or poorly directed gas flow can also disturb protection around the weld pool.
If porosity continues, review the welding speed, power, focus position, and joint fit-up. Test one change at a time on a sample piece and inspect the result before returning to production.
2. Excessive Spatter During Laser Welding
A small amount of spatter may occur in some applications, but heavy spatter can leave the surface rough, increase cleanup time, and indicate an unstable process. The appearance of the spatter, where it collects, and when it starts can provide useful clues during inspection. Common causes include unsuitable power or speed settings, poor joint fit-up, contaminated material, incorrect focus, and inconsistent wire feeding when filler wire is used.
To troubleshoot excessive spatter, first clean the workpiece and check the joint gap. Inspect the welding nozzle for contamination or damage, and confirm that the welding head is positioned according to the machine manufacturer’s guidelines.
If filler wire is used, check the wire feed speed, wire alignment, and feed rollers. Then review laser power, travel speed, and focus position against the recommended settings for the material and thickness.
Test one adjustment at a time on a sample piece. This helps identify which change improves weld stability without introducing new defects.
3. Burn-Through When Laser Welding Thin Metal Sheets
Burn-through occurs when too much heat is concentrated in a small area, creating a hole or excessive penetration. It is more likely with thin sheet metal, large joint gaps, slow travel, or settings that deliver more energy than the application requires.
To reduce laser welding burn-through, first confirm the actual material thickness and joint gap. Secure the workpieces so they do not shift during welding. Then review laser power, travel speed, beam focus, and wobble settings if the machine supports beam oscillation. Depending on the application, increasing travel speed or reducing power may help limit heat input.
Always validate adjustments on a representative sample. A setting that works for one alloy, thickness, or joint design may not work for another. For production parts, inspect both sides of the joint when accessible and verify that the weld meets the required strength and appearance criteria.
4. Weak Welds and Incomplete Fusion
A weld may look acceptable on the surface but still have insufficient fusion or strength. Potential causes include inadequate energy input, excessive travel speed, poor beam alignment, surface contamination, and an unsuitable joint design. A wide gap between parts can also prevent a consistent weld from forming.
To troubleshoot weak welds or incomplete fusion, first check for contamination, excessive joint gaps, and poor alignment. Confirm that the selected welding process is suitable for the material, thickness, and joint design.
Next, review laser power, travel speed, focus position, and the welding path against validated process settings. Insufficient energy input or excessive travel speed may prevent adequate fusion, but the correct adjustment depends on the application.
Do not rely on visual appearance alone to assess weld strength. Use suitable inspection methods, such as cross-section examination, tensile testing, or other application-specific tests. Safety-critical components should follow documented welding and inspection procedures.
5. Uneven Weld Seams and Inconsistent Weld Quality
Uneven weld width, intermittent seams, or changes in appearance along the joint can result from inconsistent hand movement, changing torch angle, variable stand-off distance, irregular part fit-up, or unstable wire feeding. Dirty or damaged optical components may also affect process consistency.
Uneven weld seams often result from inconsistent torch movement, changing working distance, poor joint fit-up, or unstable wire feeding. Begin by checking the joint gap and confirming that the welding head, nozzle, protective lens, and connections are in suitable condition.
For handheld laser welding, maintain a consistent torch angle, working distance, and travel speed within the manufacturer’s recommended operating range. Use fixtures when necessary to keep the workpieces aligned. If filler wire is used, confirm that it feeds smoothly into the weld pool.
Before production, test the selected settings on sample material of the same grade and thickness. Inspect optical components only after following the machine manufacturer’s shutdown and safety procedures. Replace damaged or contaminated components as directed by the manual.
6. Weld Discoloration and Oxidation
Discoloration around a weld can be caused by heat input, inadequate shielding, contamination, or the material’s response to the welding process. On stainless steel, excessive oxidation may affect appearance and, depending on the application, corrosion performance.
Clean the joint before welding and verify that the shielding gas is appropriate for the material and process. Check gas coverage at the weld pool and avoid drafts that can disrupt shielding. Review the heat input and test the settings on the same material grade and thickness.
Some color change may be acceptable for certain applications, while others require a stricter surface finish. Define the required appearance and quality criteria before production rather than relying on visual judgment alone.
How to Troubleshoot Laser Welding Problems
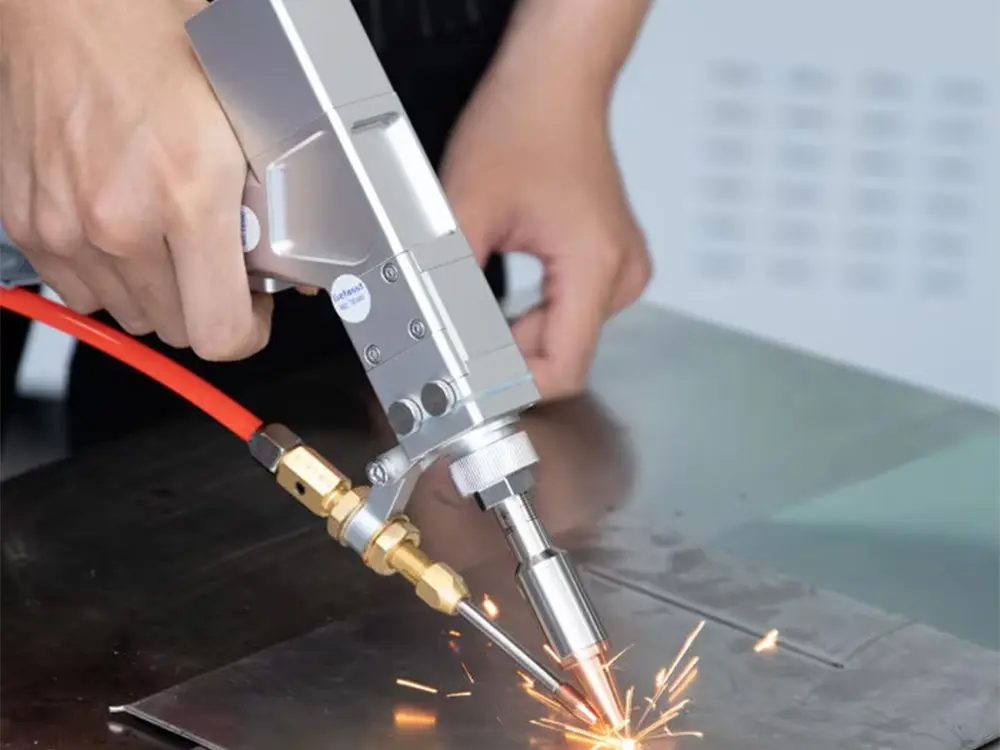
A consistent laser welding troubleshooting routine helps narrow down the cause without introducing unnecessary changes. When the same laser welding problems recur, compare the latest results with earlier records to identify changes in materials, consumables, or operating conditions.
Follow this laser welding troubleshooting checklist to identify the likely cause of a defect:
1. Identify the defect. Record its location, appearance, frequency, and the conditions under which it occurs.
2. Inspect the workpiece. Check for oil, rust, moisture, coatings, thickness variations, and excessive joint gaps.
3. Check the equipment. Following the manufacturer’s safety procedures, inspect the nozzle, protective lens, wire feeder, shielding gas supply, cooling system, and relevant connections.
4. Review welding parameters. Verify laser power, travel speed, focus position, wobble settings, and wire feed settings where applicable.
5. Test one change at a time. Use a sample with the same material, thickness, and joint design as the production part.
6. Verify and record the result. Inspect the test weld, document the successful settings, and confirm that the result meets the required quality criteria.
If the defect persists, stop making unverified adjustments and consult the equipment supplier or a qualified welding specialist.
Never bypass safety interlocks or inspect the beam path directly. Follow the machine manufacturer’s laser safety procedures and use the required protective equipment.
How to Prevent Common Laser Welding Defects
Prevention starts before the laser is switched on. Prepare clean, dry materials and make sure the joint design, fit-up, and clamping are suitable for the application. Use validated settings for the specific material, thickness, and welding position instead of relying on a single setting for every job.
Preventive maintenance helps reduce recurring welding defects. Follow the manufacturer’s inspection schedule for the protective lens, nozzle, wire feeding system, cooling unit, and electrical connections. Keep workpieces clean and dry before welding, and protect optical components from dust and contamination.
Check shielding gas flow and wire delivery before production. Address equipment alarms according to the machine manual, and replace worn or damaged parts with compatible components. Record maintenance activities and recurring defects to identify problems before they affect production quality.
Operators should receive training on the machine controls, torch handling, process limits, and laser safety. Keep a record of proven settings and sample weld results. This makes troubleshooting faster when a defect reappears and helps different operators follow the same process.
Schlussfolgerung
Troubleshooting laser welding problems starts with identifying the defect and checking the material, joint fit-up, shielding gas, equipment condition, and welding parameters. Test adjustments on sample pieces and verify weld quality before returning to production.
Regular maintenance, consistent operating procedures, and proper operator training can help reduce rework and improve weld consistency. When choosing a Handlaser-Schweißgerät, consider the machine configuration, application requirements, operator training, and after-sales technical support.
At WINTEK Laser, we provide handheld laser welding machines along with technical guidance and after-sales support to help customers operate their equipment effectively. If welding defects persist despite systematic troubleshooting, consult your equipment supplier or a qualified welding specialist before resuming full production.