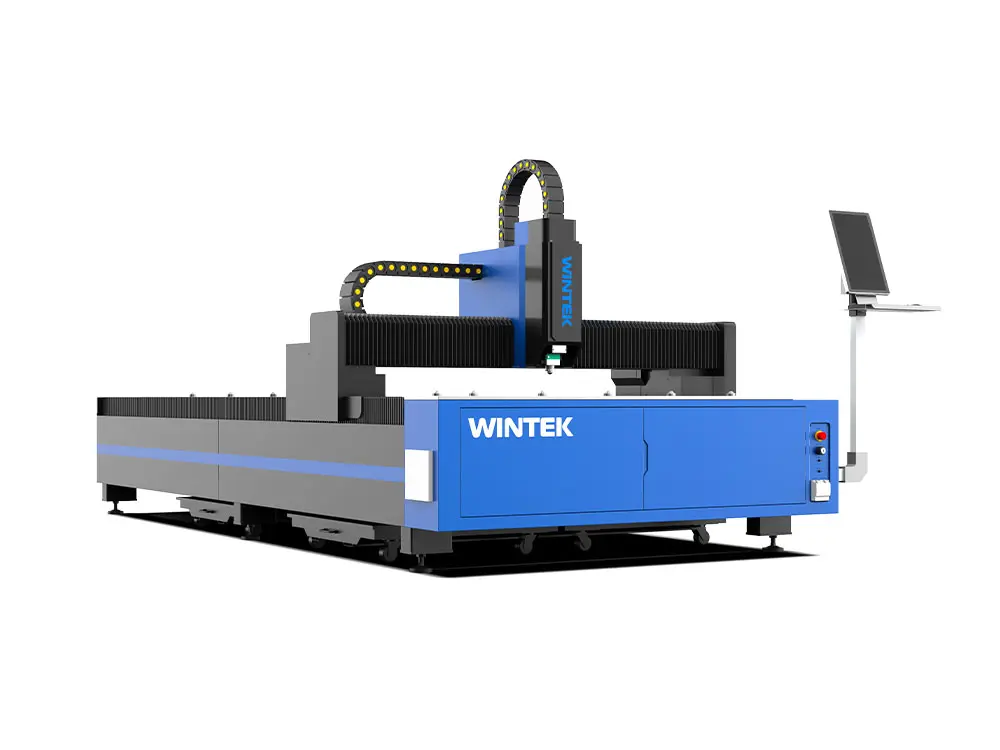
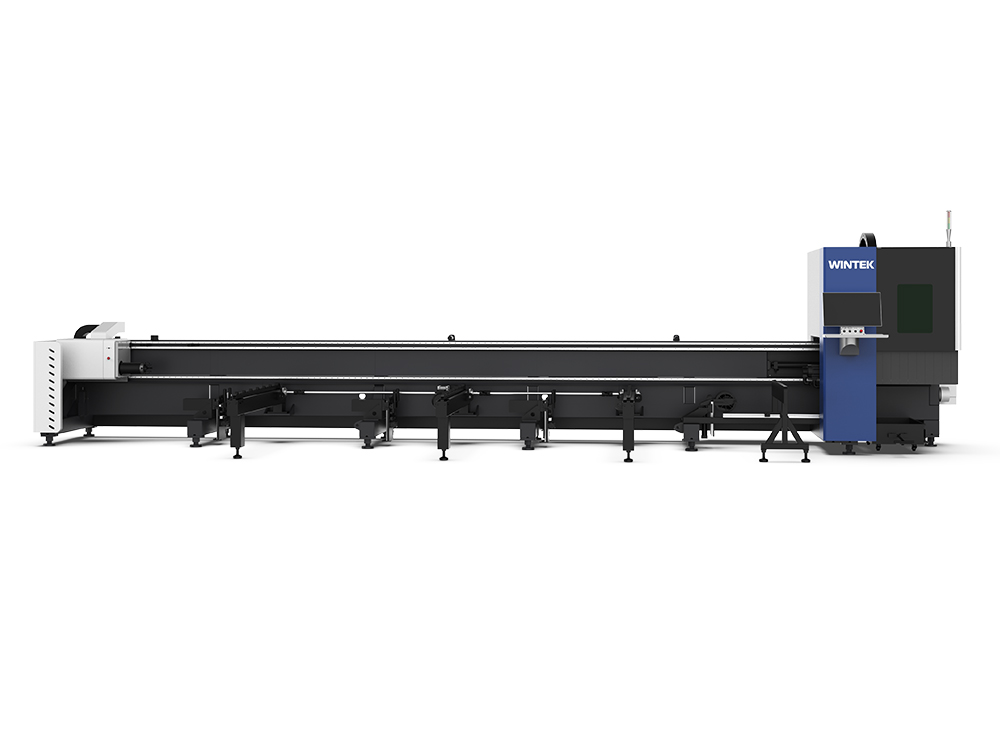
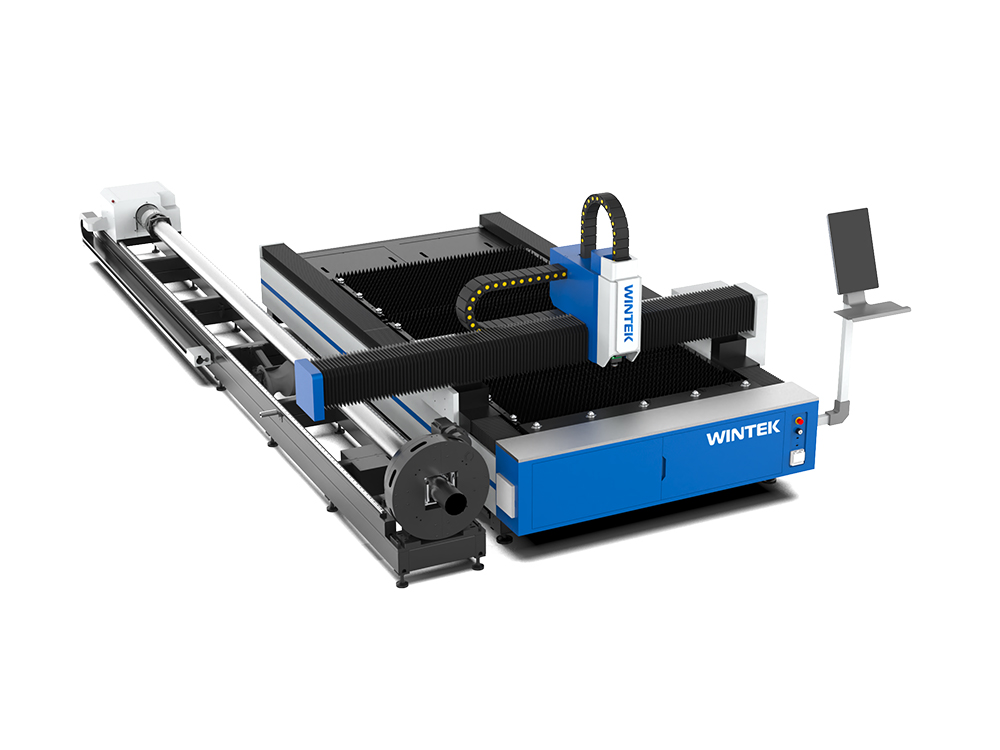

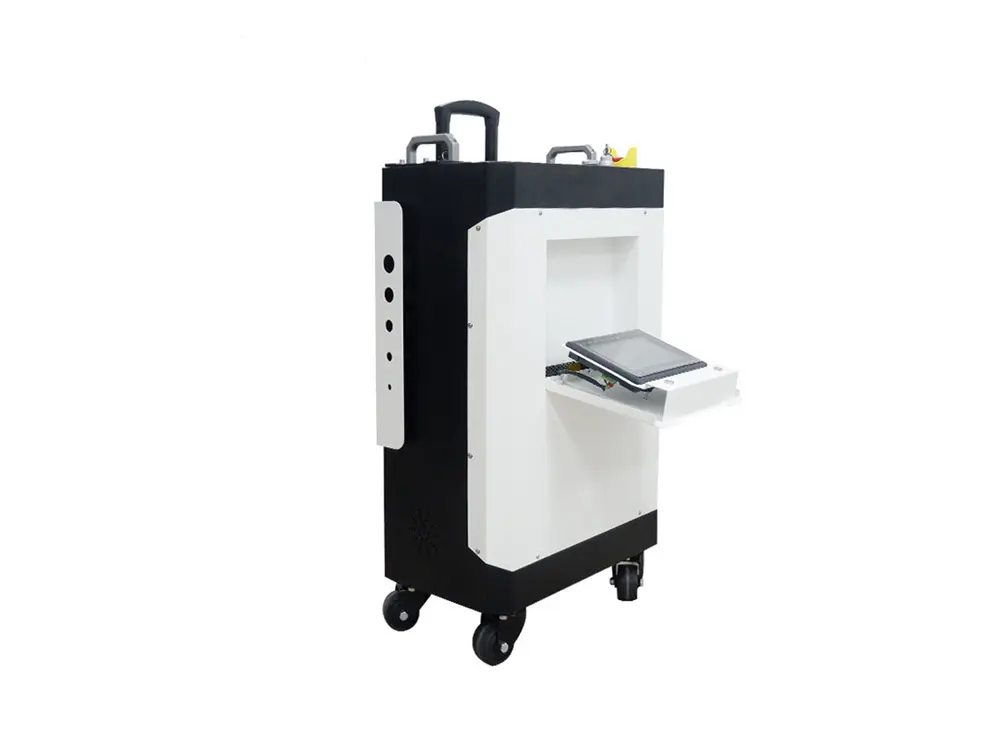
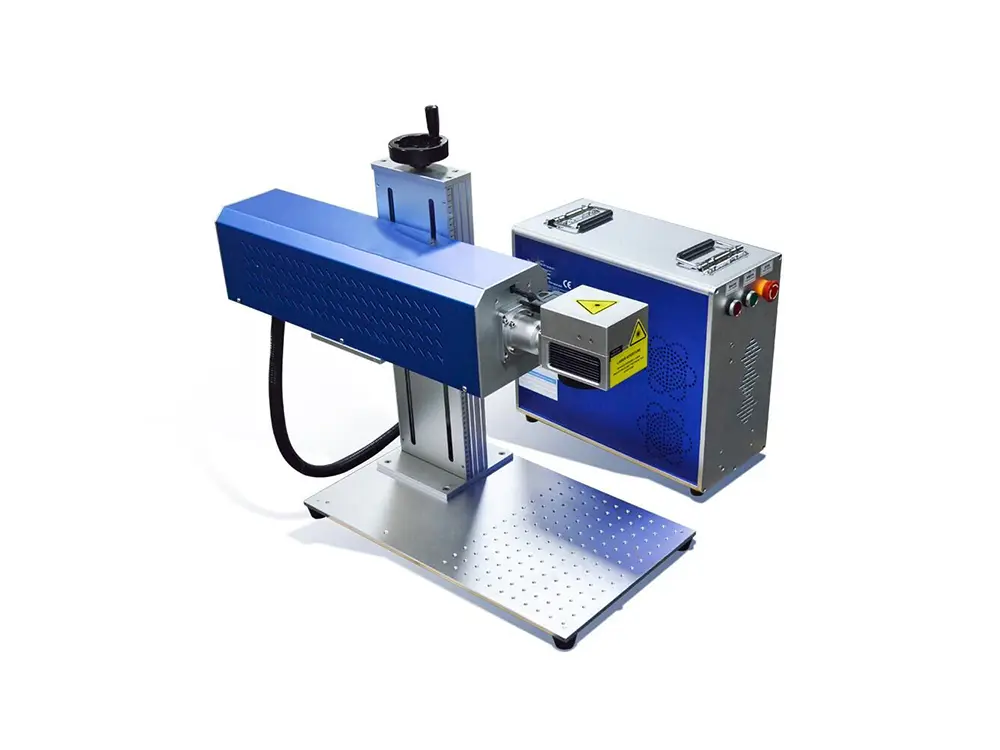











A water chiller plays a critical role in the stable operation of fiber laser cutting equipment. While the laser source, cutting head, and control system often get most of the attention, proper cooling is what keeps all these core components running safely and efficiently over the long term. Incorrect installation of a water chiller can lead to unstable laser output, frequent alarms, reduced cutting quality, or even permanent damage to expensive laser components.
This step-by-step guide, based on real workshop installation experience, explains how to install a water chiller on fiber laser cutting equipment correctly. Whether you are installing a new machine or replacing an existing cooling system, these guidelines will help ensure reliable performance and long service life.
Why a Water Chiller Is Essential for Fiber Laser Cutting Equipment
Fiber laser cutting equipment generates a substantial amount of heat during operation, particularly at higher power levels. Critical components, including the laser source, cutting head optics, and in some cases the electrical cabinet, require precise and stable temperature control. This is especially important for high-power fiber laser cutting equipment operating continuously over extended production shifts.
A properly installed water chiller:
- Maintains a consistent operating temperature for the laser source.
- Prevents thermal drift that can affect cutting accuracy.
- Reduces the risk of laser shutdowns and error alarms.
- Extends the lifespan of optical and electronic components.
For manufacturers running long shifts or cutting thick materials, a reliable cooling system is not optional, it is a basic requirement.
Preparation Before Installation
Before installing the water chiller, it is important to check both the machine requirements and the working environment.
1. Confirm Chiller Specifications
Ensure that the water chiller is compatible with the specifications of the fiber laser cutting equipment. Key technical parameters to confirm include:
- Cooling capacity suitable for the laser power.
- Correct voltage and frequency.
- Compatible inlet and outlet pipe sizes.
- Recommended coolant type.
Most reputable fiber laser cutting equipment manufacturers, including brands such as Wintek Laser, clearly specify the recommended chiller model or performance range in the technical documentation.
2. Prepare the Installation Area
The chiller should be installed in a clean, well-ventilated area close to the fiber laser cutting equipment. Avoid placing it in direct sunlight, dusty environments, or areas with poor airflow.
Ensure:
- At least 1 meter of clearance around the chiller for ventilation.
- A flat, stable surface.
- Easy access for future maintenance.
Step-by-Step Industrial Water Chiller Installation Process
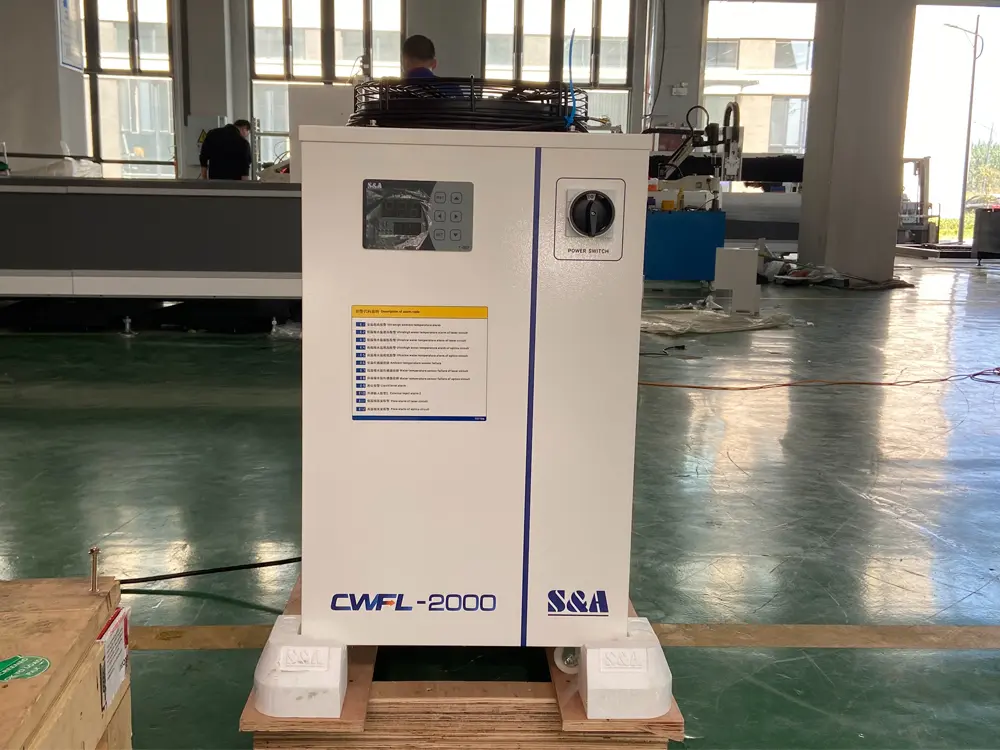
Step 1: Position the Water Chiller
Place the water chiller close to the fiber laser cutting equipment to keep hose runs short and maintain stable water pressure. Whenever possible, position the chiller at the same height as or slightly below the laser source, unless the equipment manufacturer specifies a different requirement, as this helps maintain stable water pressure and prevents pump overload. Before any installation work begins, make sure the chiller and laser cutting machine are fully powered off to avoid electrical or safety risks.
Step 2: Connect the Water Pipes
Most modern fiber laser cutting equipment uses two independent cooling circuits: one for the laser source and one for the cutting head or auxiliary components. Connect the chiller outlet to the laser inlet and return lines from the laser back to the chiller according to the labeled “IN” and “OUT” ports. Ensure all hose connections are secure, leak-free, and free from sharp bends or twists. Incorrect connections can lead to insufficient cooling, flow alarms, or system shutdowns.
Step 3: Fill the Chiller with Coolant
Use only the coolant recommended by the chiller and fiber laser cutting machine manufacturer. In most cases, deionized or distilled water is required, with antifreeze added if the operating environment demands it. Fill the chiller slowly while monitoring the water level indicator. Avoid using tap water, as mineral deposits can cause scaling, corrosion, and long-term cooling issues.
Step 4: Bleed Air from the Cooling System
Air trapped in the cooling loop is a common cause of flow alarms and unstable cooling. After filling the chiller, power on the chiller only and allow the pump to circulate water through the system. Watch the water level window for bubbles and release trapped air using bleed valves if available. Continue until the water flow is stable and no air bubbles are visible.
Step 5: Electrical Connection
Connect the water chiller to the correct power supply and ensure proper grounding. Many fiber laser cutting machines also require a signal cable between the chiller and the CNC system for temperature and flow monitoring. Carefully follow the manufacturer’s wiring diagram to ensure alarms and interlock functions operate correctly and protect the laser system.
Step 6: Set Temperature Parameters
Set the target cooling water temperature according to machine requirements, typically between 22°C and 26°C. Configure alarm thresholds slightly above and below the target temperature for stable operation. Avoid setting the temperature too low, as this may cause condensation inside the laser source or optical components, leading to potential damage.
Step 7: Test Run the System
Before starting the fiber laser cutting equipment, run the water chiller independently for 15 to 30 minutes. Check all pipe connections for leaks and confirm stable temperature and flow readings. Once the system is stable, power on the laser cutting machine and closely monitor the cooling performance during the first cutting tests under real load.
Common Installation Mistakes to Avoid
Even experienced operators can make mistakes during installation. The most common issues include:
- Reversing inlet and outlet connections.
- Using incorrect coolant or tap water.
- Ignoring air bleeding procedures.
- Installing the chiller in a poorly ventilated area.
- Setting water temperature too low.
Avoiding these mistakes can significantly reduce downtime and maintenance costs. These mistakes are responsible for a large percentage of early chiller-related failures.
Maintenance Tips After Installation
Proper installation is only the first step. Regular maintenance ensures long-term performance:
- Check the water level on a regular basis (weekly or as required).
- Replace coolant according to manufacturer recommendations.
- Clean filters and condenser coils regularly.
- Inspect hoses and fittings for leaks or wear.
Well-maintained chillers help fiber laser cutting equipment deliver stable and consistent cutting performance over many years of operation, minimizing downtime and protecting high-value components.
Conclusion
Installing a water chiller on fiber laser cutting equipment is not a complicated task, but it requires careful attention to detail. Correct positioning, proper hose connections, suitable coolant selection, and accurate temperature settings all play a role in ensuring stable laser performance.
By following a structured installation process and avoiding common mistakes, manufacturers can protect their laser investment, improve cutting consistency, and reduce unexpected downtime. A reliable cooling system is one of the most important foundations of efficient fiber laser cutting, and getting it right from the start makes a measurable difference in daily production.