










Handheld laser welding machines are revolutionizing the metal fabrication industry by offering high-speed, precision welding in a compact, user-friendly format. Whether you’re new to welding or switching from traditional methods like TIG or MIG, handheld laser welders offer a faster, cleaner, and more efficient alternative.
In this beginner’s guide, we’ll walk you through the basics of using a handheld laser welder machine, including how it works, what materials it can weld, how to prepare for operation, safety tips, and step-by-step instructions for beginners.
What Is a Handheld Laser Welder Machine?
The handheld laser welder is a portable device that uses a focused laser beam to melt and join metals. Unlike traditional welding methods, laser welding is non-contact, ultra-precise, and produces minimal heat-affected zones (HAZ). These machines are especially popular in:
- Automotive repair
- Stainless steel fabrication
- Custom metalwork
- Electronics and appliance manufacturing
- Aerospace and defense sectors
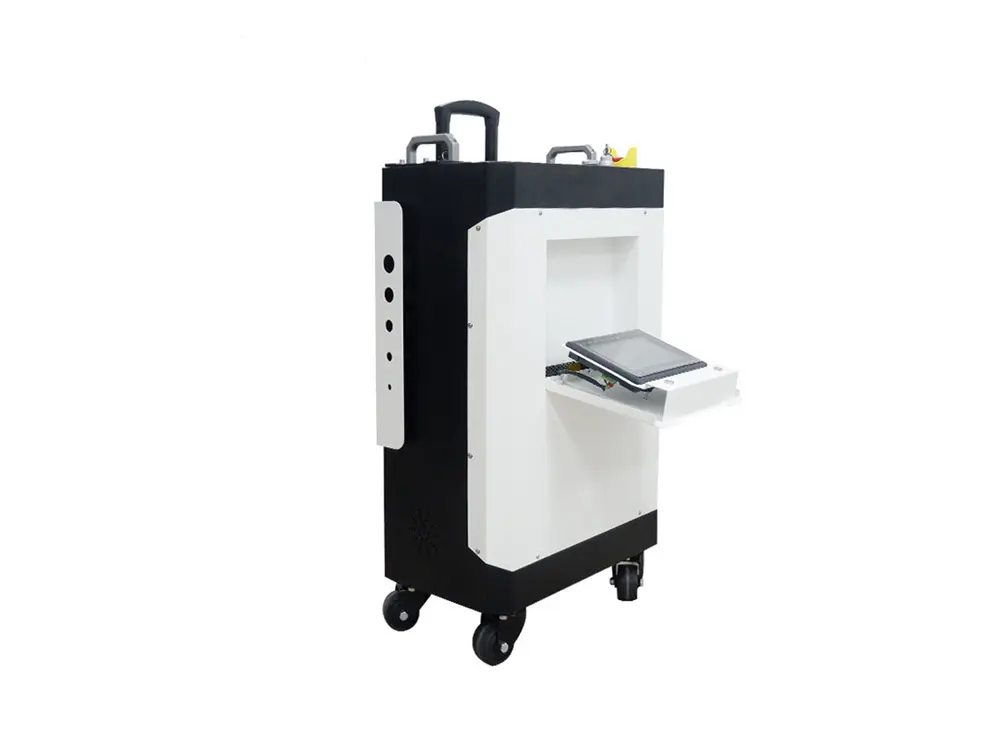
Most modern handheld laser welders come with features like built-in wire feeders, touchscreen control panels, adjustable power settings (ranging from 1000W to 3000W), and multiple welding modes for different materials and thickness.
How Does Laser Welding Work?

Laser welding uses a high-energy laser beam to generate localized heat that melts the base metal and, if used, filler wire. As the molten materials cool and solidify, they form a clean, strong, and precise weld joint. Unlike traditional arc welding, laser welding offers deeper penetration with minimal distortion and very low heat-affected zones.
Key Components of a Handheld Laser Welder:
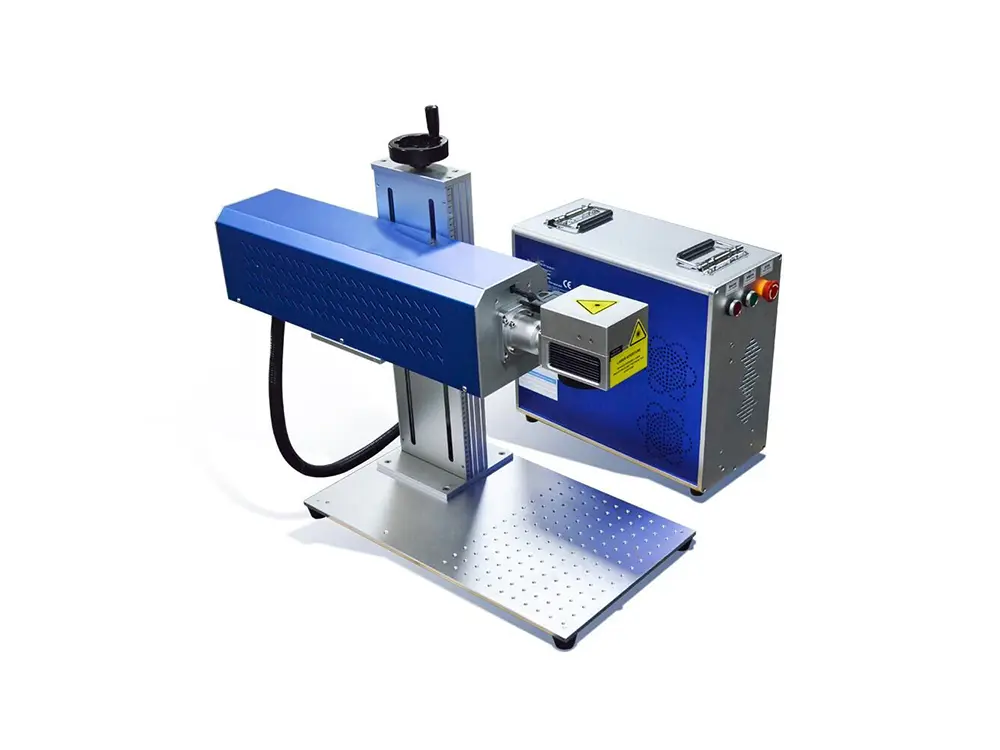
- Laser Source: Usually a fiber laser, known for its high energy density, stable output, and long service life. It delivers a highly focused beam suitable for fine and deep welds.
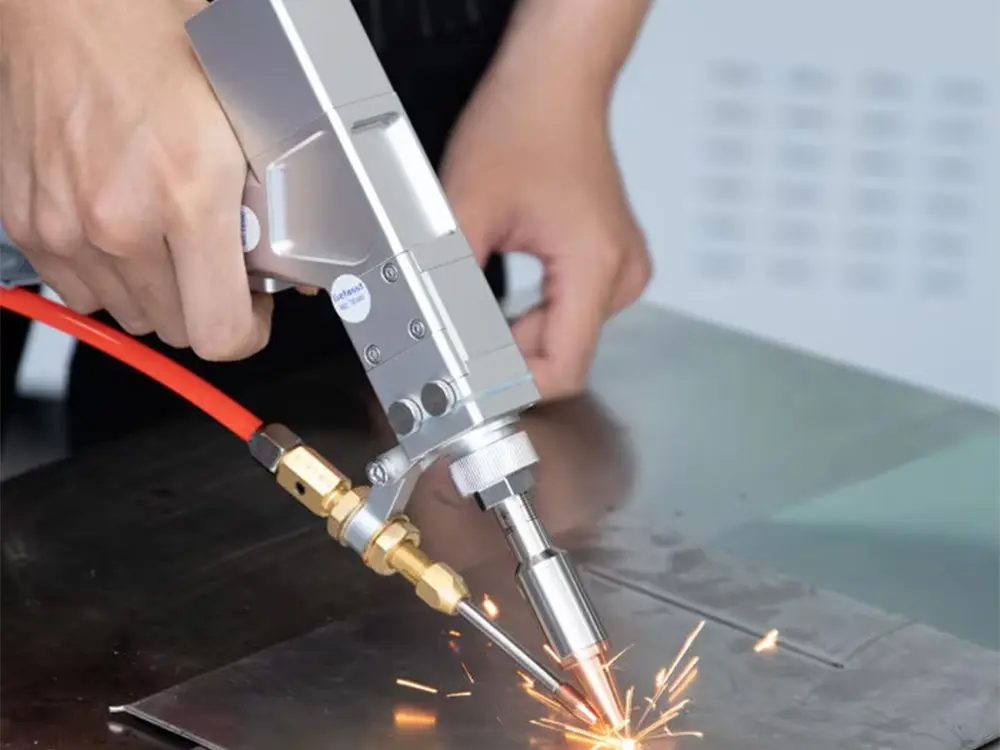
- Handheld Welding Gun: Ergonomically designed for ease of use. The gun contains the laser nozzle and trigger mechanism, allowing precise control during manual operation.
- Wire Feeder: The wire feeder automatically supplies filler wire during welding. It is especially useful for filling gaps, welding thick materials, or joining dissimilar metals.
- Control Unit: The central interface of the machine, allowing operators to set welding parameters such as power output, pulse frequency, mode, wire feed speed, and gas flow rate.
- Cooling System: Typically water-cooled, it regulates the internal temperature of the laser source and welding gun to ensure consistent performance and prevent overheating during prolonged operation.
- Shielding Gas System: Uses inert gases like argon or nitrogen to protect the molten weld pool from oxidation and atmospheric contamination, ensuring clean and high-quality welds.
What Materials Can You Weld with It?
Handheld laser welder machines are ideal for welding various metals, including:
- Stainless steel
- Mild steel
- Carbon steel
- Aluminum
- Copper
- Galvanized steel
- Brass (with specific power settings)
However, reflective materials like aluminum and copper may require higher power settings (2KW+) and a bit more experience to master.
Safety First: Precautions You Must Follow
Although handheld laser welders are easier to operate than traditional welders, laser safety is critical.
Essential Safety Tips:
- Wear Proper PPE: Laser safety goggles, gloves, flame-resistant clothing, and safety boots.
- Work in a Controlled Environment: Avoid open or reflective surfaces, use welding enclosures.
- Ventilation: Ensure proper ventilation to avoid inhaling fumes.
- Training: Even beginners should undergo basic laser welding training or manufacturer-provided instruction.
- Emergency Stop: Familiarize yourself with the location and function of the emergency shut-off switch.
Getting Started: Step-by-Step Setup Guide
Here’s a simple guide to setting up and operating a handheld laser welder machine for the first time.
Step 1: Prepare the Workspace
Clear your welding area of flammable materials.
Set up grounding for the machine.
Ensure your machine is on a stable, level surface.
Step 2: Connect Power and Gas
Plug in the machine and power it on.
Connect the argon/nitrogen gas bottle securely.
Check gas pressure and flow rate (usually 10–20 L/min depending on the metal and thickness).
Step 3: Select Parameters on the Control Panel
Choose the appropriate welding mode.
Set laser power based on material thickness (eg: 1500W for 2 mm stainless steel).
Adjust welding speed, frequency, and wire feed (if using filler wire).
Step 4: Prepare the Workpiece
Clean the metal surface—remove oil, paint, rust, and dirt.
Align and clamp workpieces for stability.
Use a wire feeder if required for larger gaps or thicker joints.
Step 5: Start Welding
Hold the welding gun at a 45–70° angle depending on joint type.
Maintain a steady hand movement and consistent distance from the surface.
Trigger the laser and guide the beam smoothly along the weld path.
Step 6: Inspect the Weld
Check for common defects: porosity, undercutting, or cracks.
If needed, adjust speed or power and re-weld.
Common Joint Types and Welding Techniques
Handheld laser welder machines can be used for:
Butt Joints – Joining two edges in a flat plane
Lap Joints – Overlapping sheets
Corner Joints – Used in box fabrication
T-Joints – Common in structural welding
Techniques:
Spot Welding: For small, fixed points.
Stitch Welding: Short welds with gaps in between to reduce heat.
Continuous Welding: For seamless joints and water-tight sealing.
Troubleshooting Tips for Beginners
| Issue | Cause | Solution |
| Weak weld penetration | Low power or speed too fast | Increase power or reduce travel speed |
| Spatter on surface | Dirty metal or incorrect gas | Clean surface and check gas flow |
| Cracks in weld | Too much heat or poor joint prep | Reduce power, improve fit-up |
| Discoloration | Insufficient shielding gas | Increase gas flow or change nozzle angle |
Maintenance Tips for Long-Term Use
- Daily: Check optics, clean lens, inspect cables.
- Weekly: Clean the wire feeding system and check coolant levels.
- Monthly: Check alignment of the laser and clean the interior filters.
- Annually: Schedule professional inspection or calibration.
Advantages of Handheld Laser Welder Machines
- High precision and speed
- Minimal post-weld cleaning
- Low distortion and heat input
- Easy for beginners to learn
- Multi-functionality (cutting, cleaning, welding in some models)
Conclusion
Getting started with a handheld laser welder may seem overwhelming at first, but with the right setup and a bit of practice, even beginners can achieve clean, high-quality welds in no time. These machines are designed to be user-friendly, and most models include pre-configured settings for commonly used metals, reducing the learning curve significantly. That’s why handheld laser welder machines are a perfect fit for small workshops, maintenance crews, and production teams alike.
Always remember to follow the manufacturer’s guidelines, wear appropriate protective gear, and practice on sample materials before working on critical parts. With patience and proper preparation, you’ll be welding like a pro in no time.